#diygiftbags #giftwrappingideas #papercraft
Check this video for step by step instruction on how to make Mini Paper Bag.
Instructions:
1) Take a sheet of 20X30cm dimension.
2) Mark the lines as shown.
3) Make crease on the lines with the back of a cutter (or the tip of an used ballpoint).
4) Now fold along the vertical and horizontal crease.
5) Now fold in the side and the top along the cross crease like shown, do that for all the four sides.
6) Apply glue on the longer side as shown, and fold and stick.
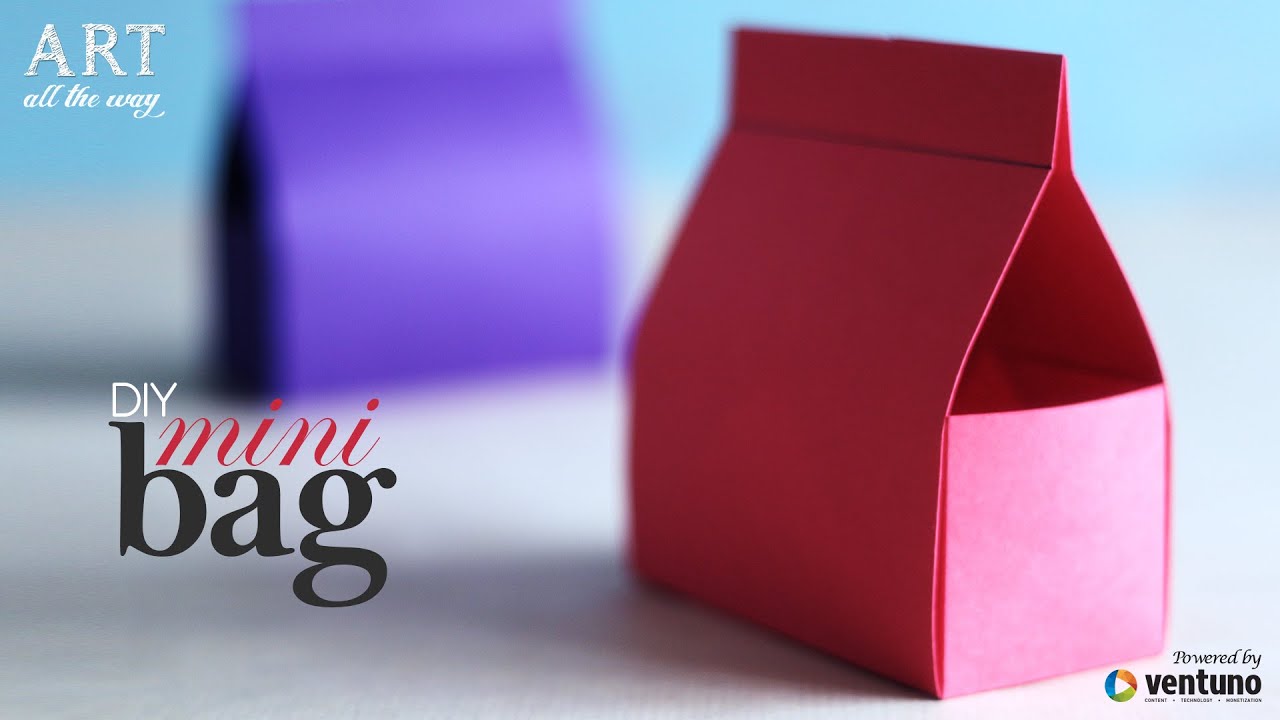
7) Your bag has taken its shape.
8) Draw a line roughly 2cms from the bag’s top and make a crease on both the sides
gently bend it outwards.
Done!!!
Tips: you can inline the handle with magnetic strip so that they can snatch!
or simply stick it.